
In the pic below you can see the forward attach point for the rudder cables, and the cables passing through the bushings in the forward-most bulkhead. These cables have zero tension until feet press
The seat ramp cover is removed in this pic, but had to be re-installed before tensioning the stabilator cables to prevent a slight distortion of the structure due to the tension.

The pic at right shows the cables attached to the rudder. Here's where I accidentally let the cables slip back through the holes while I was trying to get the correct washers in and lined up before bolt insertion.
Steel straps are fabricated to set the correct length of the cables when they're attached to the rudder. These attach at the front end of the cables.
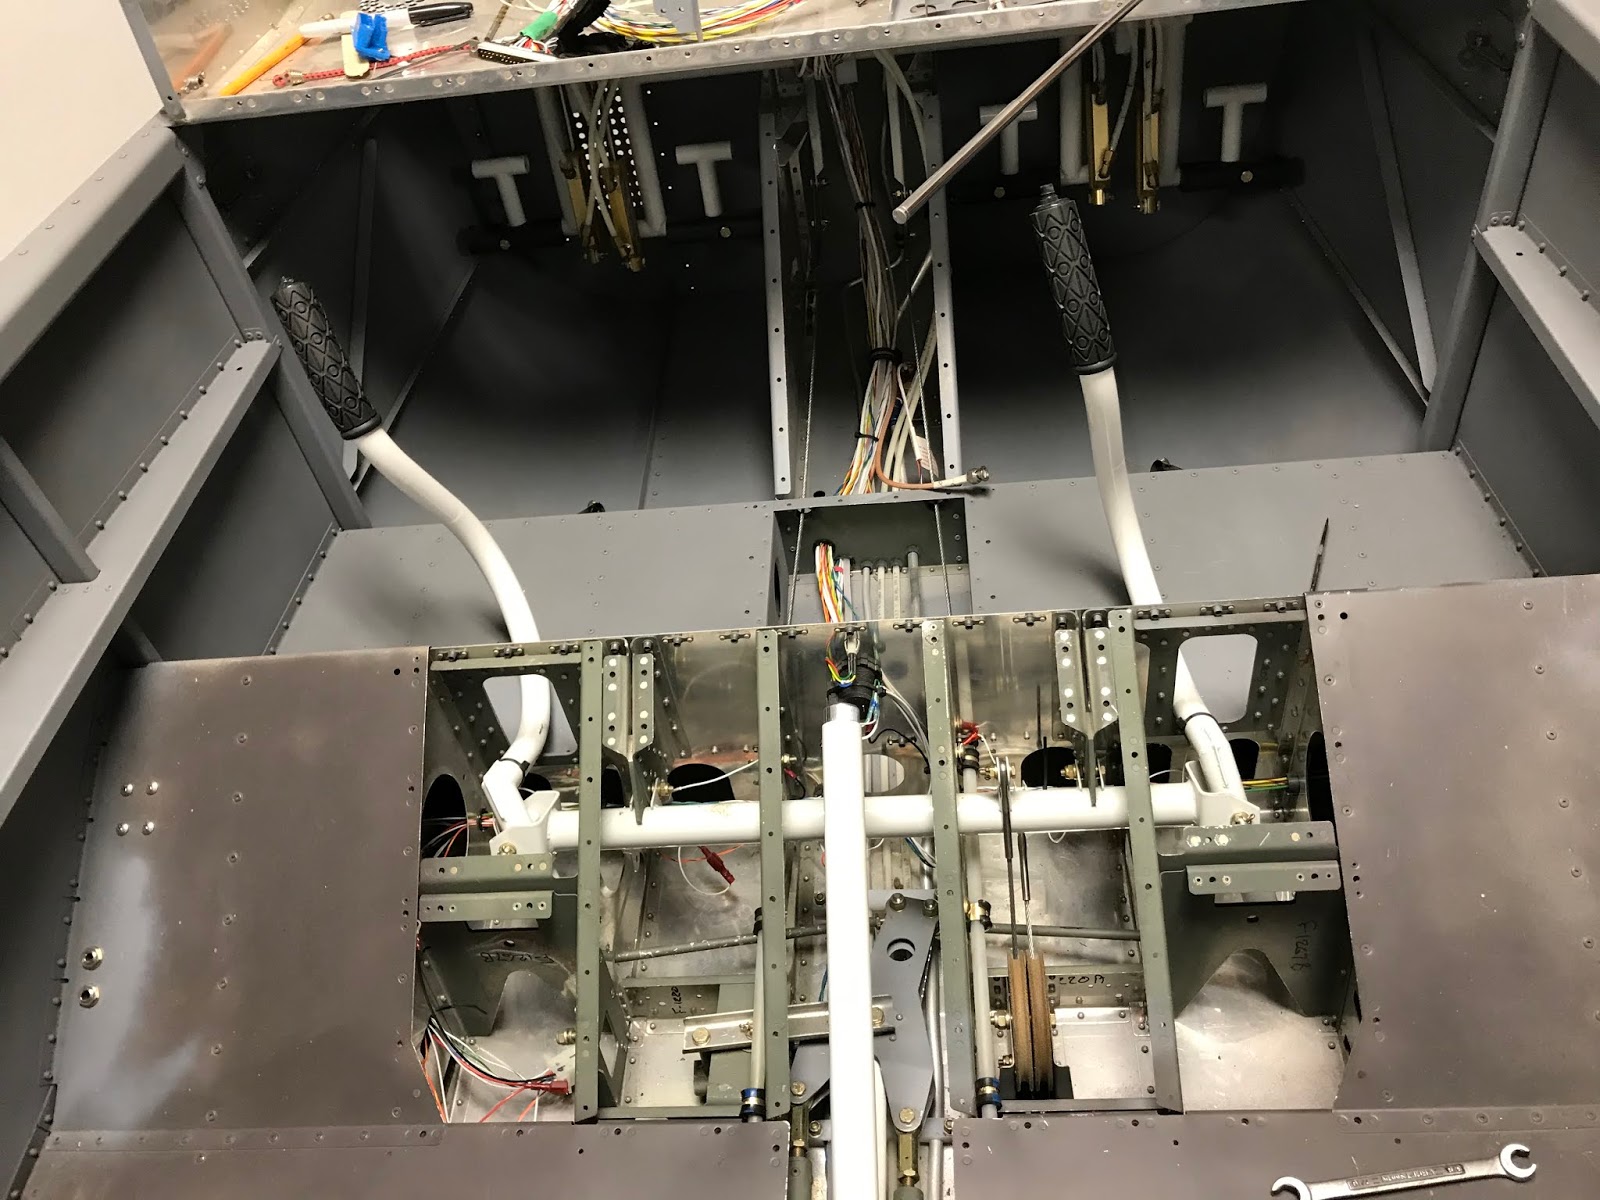
To set the tension for the stabilator cables, the control stick is positioned as shown using a fabricated 41-inch stick going from the back of the control stick to the longeron. The front of the control stick

The tension is set using turnbuckles. The cables themselves are prevented from rotating using the coat-hanger tool shown, while the turnbuckle is rotated, tensioning the cable. This is done through the inspection holes in the bottom of the fuselage while lying on your back. It's all trial-and-error:

The repeatability of this instrument worried me a bit, but I finally set both cables to about (as close as I could read) 41 lbf. The stabilator movement feels good and, after farting around with it for days, I declared it done.

I don't feel great about this tensioning process. They're set at 41 lbf, but if I pluck the stabilator cables, they rattle a bit in the bulkhead holes. Several of these holes are not fitted with a grommet, and I'm guessing the cables shouldn't hit. I may enlarge the holes a bit with a drum sander on a Dremel tool. Normal operation of the stick seems fine. My worry at this point is that installing the autopilot servos will affect the effort required to move the sticks. I'll find out soon.
The blue clips are clearly shown in the final pic and require that a slot in the cable end line up with an internal slot in the barrel. This whole tension process seemed a bit imprecise.

No comments:
Post a Comment