Sometimes a made-up German phrase is required to adequately describe something: Yes, for the third time in the build, we have another Klöster Föken.
As I alluded to in the last post, I've dreaded the canopy fiberglass more than any other part of the build. That dread was not misplaced. The result of this section should be a fiberglass skirt attached to the Plexiglas canopy bubble and the aluminum pieces which are already attached to the bubble as described in the previous section. The this section starts with two blocks of foam which must be shaped to conform to the curvature of the surrounding aluminum. This is all done by eyeball.
The blocks must first be trimmed and drilled with a hole saw for access to the canopy pivot bolts which are already in place. On the first drilling operation I managed to break off part of the foam, requiring that I fabricate out of scrap a new "nose" piece and epoxy it on (clearly seen on the left piece in the pic).
This is then epoxied to the existing aluminum structure and trimmed to match the existing curvature. After shaping the first one entirely with 80-grit sandpaper attached to a block, I wised up and did the rough cut with a hack saw blade.
Shown below the piece being shaped is some scrap foam I inserted, later to be removed, to support the fiberglass which will hang down about 1/8th inch below the bottom of the temporary piece.
The pic at left shows the foam glued in place and shaped to match the surrounding curvature. Three pieces of temporary foam are shown below the glued piece.
Duct tape is applied everywhere the fiberglass skirt will contact the aluminum but should not adhere to it. Packing tape is placed over the duct tape and a release agent is liberally smeared on this combo to allow the fiberglass to be removed. I used Carnauba car wax. Worked great.
The fiberglass cloth pieces will be cut to shape and applied to everything inside the duct tape and the red electrical tape which is applied to the Plexiglas and marks the bottom edge of the part of the Plexiglas which is to remain clear. I used red electrical tape to contrast with the coming epoxy which I dyed black so it would look better from inside the airplane (thanks Dog Aviation!). The green tape seen just below the red is inside the Plexiglas.
The pic at left clearly shows the aluminum piece shaped and installed in the previous post. The coming fiberglass/epoxy will adhere itself to this, the foam block and the Plexiglas canopy below the red tape. Because of the release agent (seen in the can sitting on the nose), the fiberglas/epoxy will lie against but not adhere to the aluminum covered by the duct tape. Got it?
Now the bad part starts.
Five paper templates are supplied for cutting pieces of fiberglass cloth for each side, ten in all. If you expand the picture at right you'll see cut lines on the paper. The idea is to cut the outer piece of cloth, trim the paper template at the next inboard line, cut the cloth, repeat.
All cutting is done with a rotary knife against a smooth piece of plywood.
The fiberglass strips which bridge across between the side pieces are rectangular and of a specified width and length, eight pieces in all.
So far, so good. Now the first piece of cloth, which was so carefully cut to shape, is to be placed on a piece of plastic cooking wrap and wetted out with epoxy. I used West System epoxy. Some experts (not being sarcastic here -- these people truly are experts) advise against using the pumps to dispense the epoxy in proper proportions and suggest that weighing the epoxy is best. Using a postal scale for this caused me to have little confidence in this method, probably because of poor technique on my part. The pumps were quick, easy, and seemed to work perfectly. I love the pumps.

After carefully cutting the first, largest piece of cloth to shape I transferred it to the cooking wrap, whereupon its shape immediately changed from what it should have been into something that resembled the state of Texas. No amount of tugging would transform it back into the shape of the template. I did the best I could, brushed on the epoxy, squeegeed out all the excess and transferred it to the canopy. I had marked the area it was supposed to cover and it was nowhere close. Each subsequent piece of cloth is placed dry on the previous, still tacky piece of cloth and wetted out using a brush. The picture at right shows all five pieces of cloth/epoxy in place. I showed the right side because, as bad as it looks, it was way better than the left side (the first one I did). The strips bridging left and right were then done in a particular order and position.

Then the fun begins. Supposedly, the good thing about fiberglass is that if you (word redacted due to the family nature of this blog) it up, you simply sand away the bad part and re-do it. This was my saving grace. If you look at EweTube (they're a bunch of sheep) videos showing this process it all comes out near perfect after the first layup. Mine came out looking like the surface of the moon. Small fiberglass patches can be glassed into the low spots and high spots can be sanded down. Every time you glass something it needs at least 24 hours to cure before sanding, depending on the temperature in the hangar. This takes a while. Here in Colorado while I was doing the fiberglassing the OAT was sometimes below 20 F. My gas heater could only get the temperature in the hangar up to about 52 F on the coldest days.
The radius of curvature for the intersection of the Plexiglas and the aluminum is supposed to be 2 inches. I discovered that the O.D. of a 3-inch PVC coupling is 4 inches. Perfect.
After quite a few iterations of glassing and sanding it looked like this. The lighter colored area is un-dyed epoxy. I only dyed the lowest layer but on subsequent layers the black dye bled through. The idea behind having the upper layers clear was to make it easy to know when you've sanded through to the lowest layer. Didn't work.
Small low spots can be filled with a mixture of micro-balloons (tiny spheres of glass) and epoxy, usually just called micro. Dry micro refers to a mixture that has the consistency of peanut butter. This stuff can be slathered on and easily sanded. I should have used it earlier.
I trimmed a tongue depressor so that it had the 2-inch radius and a straight section to gage the shape as I sanded.
At this point I decided to raise the canopy and remove it from the airplane, finishing the rest of the sanding on the workbench. This required that I locate and drill out the holes for the canopy pivot bolts, having covered them with fiberglass earlier. I did this by looking at the plans and triangulating from known rivet locations, then drilling with a small bit where I thought the center of the pivot bolt was. The hole in the fiberglass was then opened to the correct dimeter with a sending drum. I used a putty knife as shown to break the fiberglass free from the tape with release coat. At this point I inclined my head a few degrees and said a silent prayer. The canopy popped right up.
I trimmed to essentially the final shape on the work bench. I am quite pleased with how thin and stiff the fiberglass turned out. Several of the RV-12s I saw at Oshkosh had, in my opinion, excessive thickness here.
The idea with the black dye for the epoxy didn't work out so well but was probably worth doing. I had to spray the inside of the fiberglass black.
If I were a better craftsman I'd no doubt do a few more iterations of the micro/sand loop. Since I'm sick of fiberglass dust, I sprayed a high-build primer on and sanded that. Considering what an absolute PITA this part has been, I'm fairly happy with the result.
Re-installing the canopy, I had the Spousal Unit slowly raise it while I observed the substantial interference above and forward of the pivot bolt. I marked and trimmed it as shown.
Trimming with a file was done on the back side of the fiberglass. The second, larger scollop was done to expose the aft-most screw just above the fiberglass. This is the configuration on the original plans I received. On current plans only the smaller scollop just above the pivot bolt is shown. Doing it this way would require
removing the canopy in order to remove the covering over the instrument bay. That's the aluminum forward of the fiberglass. No thanks.
As I said before, considering what a PITA this was and how much I complained about it, I'm happy with the result. The fit against the aluminum is good.
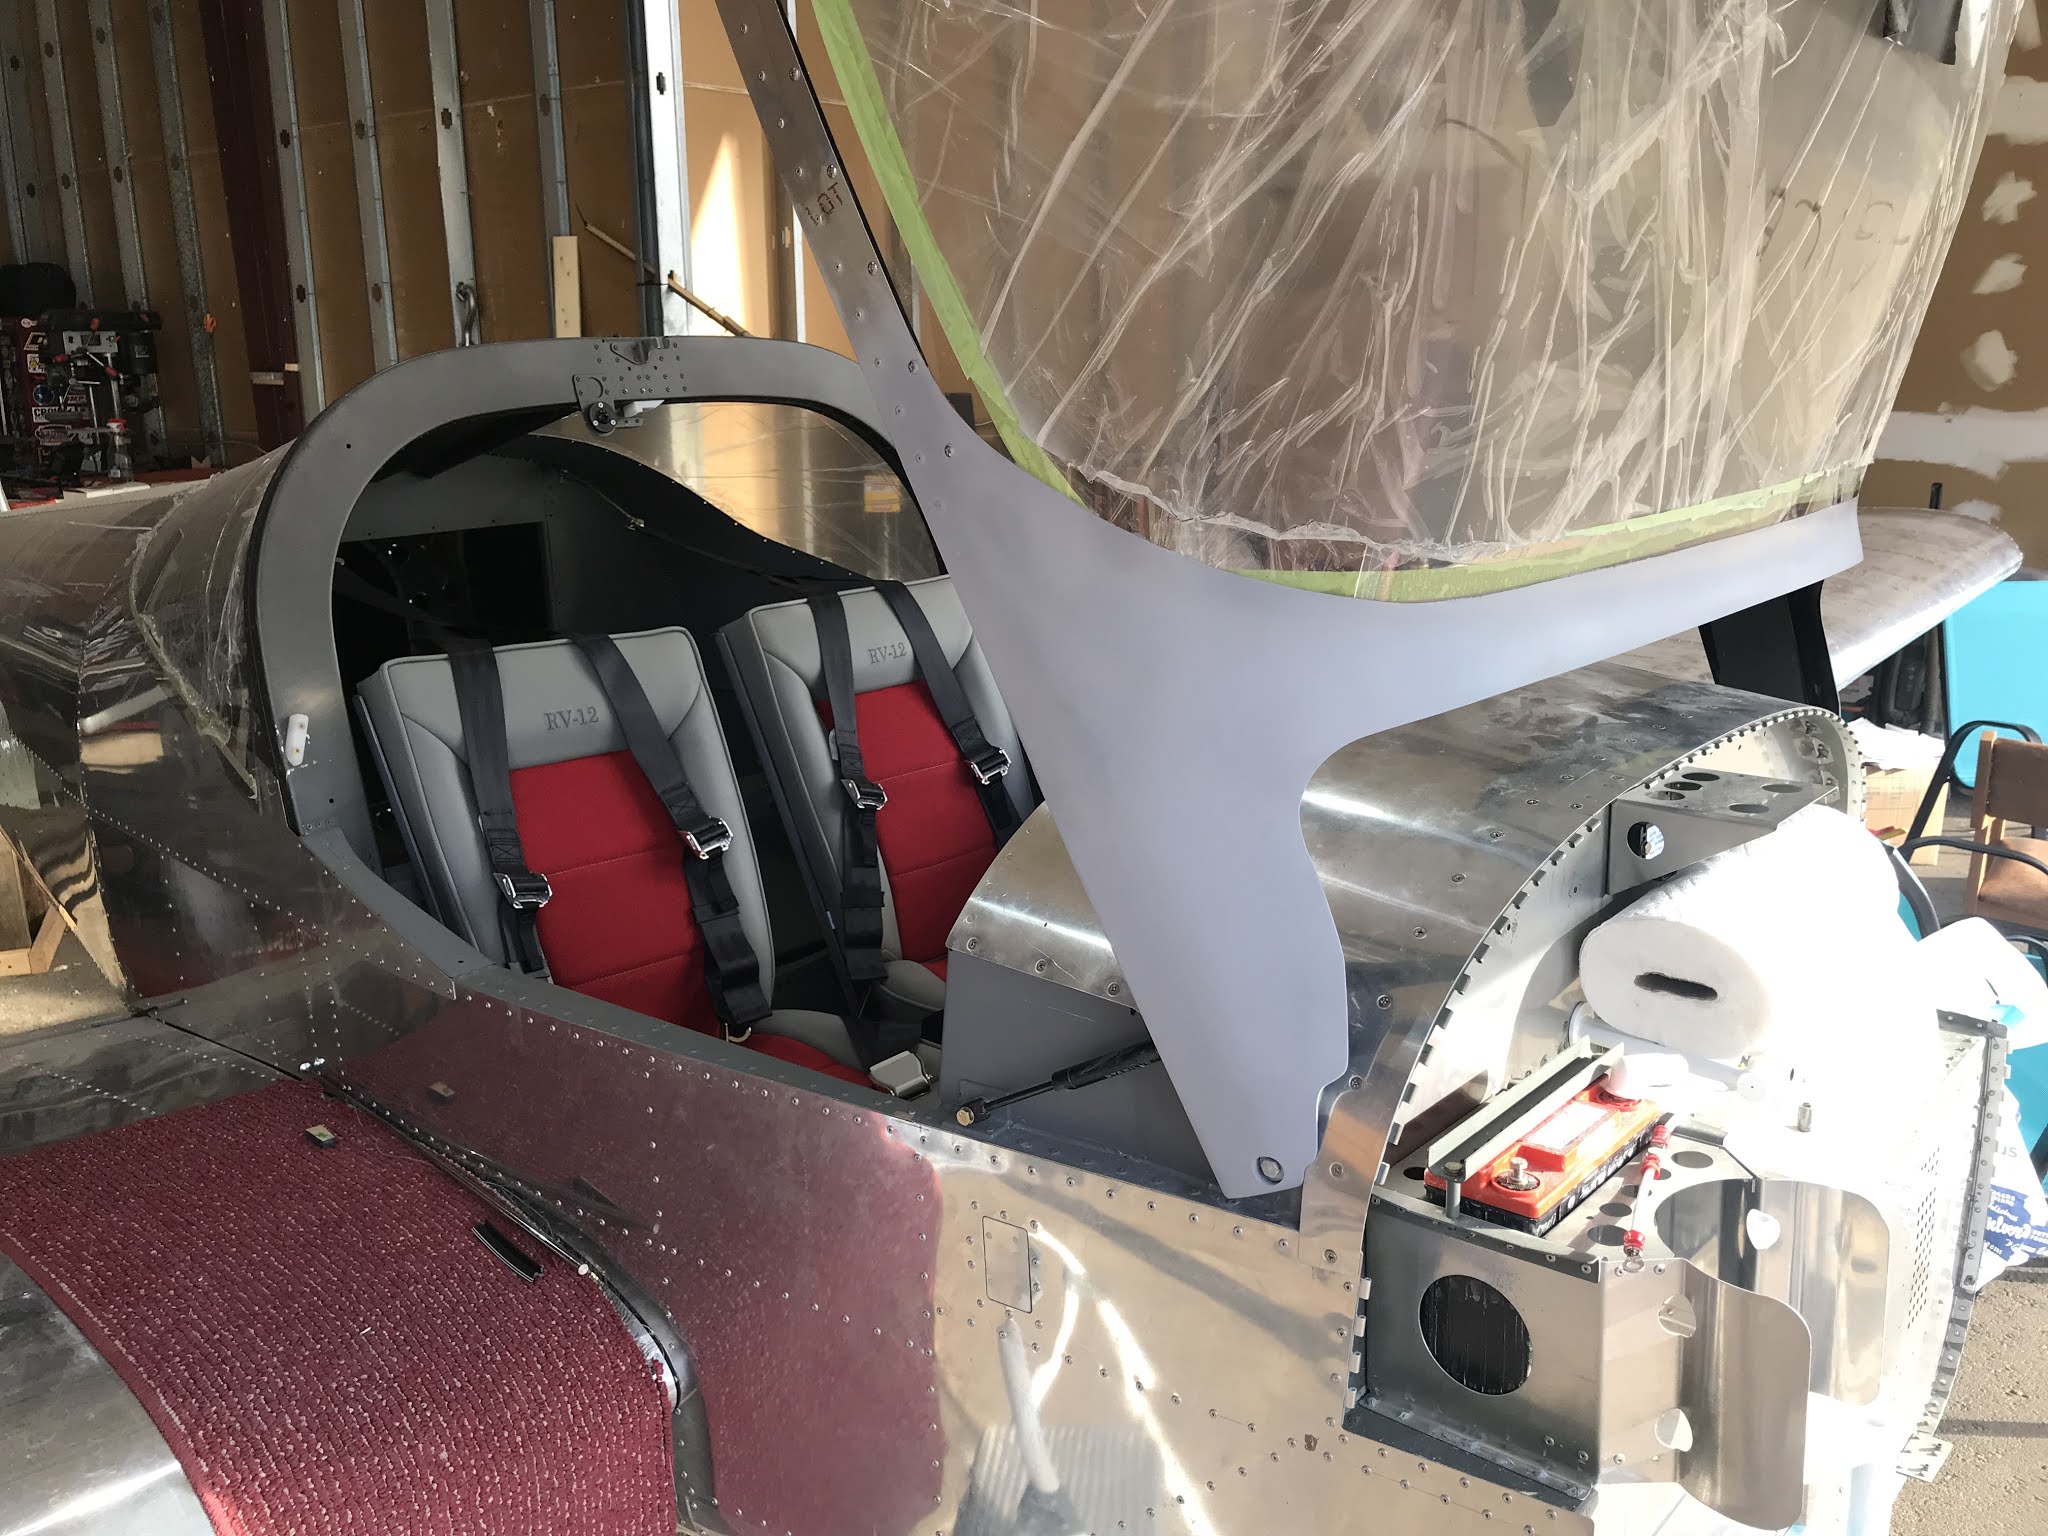
I installed the upholstery and five-point harnesses just to make myself feel like I'm approaching having a real airplane. Yes, I closed the canopy, strapped in and pretended to fly.😎
A few canopy seals remain to be installed, then on to the engine! The avionics kit has been ordered, so no more big cash outlays.