Note: This work occurred back in North Carolina, before the big move to Colorado, so we're a bit out of chronological order.
The kit as I ordered it came with a Lexan rear window (still in its protective plastic back in NC -- one of many parts paid for but not used) which was subject to crazing when exposed to even the smallest amount of gasoline. The location of the fuel filler made it almost impossible to avoid this fate, so the Mothership came out with a replacement made of plexiglass (Plexiglas) which solved the problem. Naturally, I ordered this, never missing an opportunity to spend even more money.

The first step in the installation called for carefully positioning the window fore and aft as well as side to side before drilling the first hole, after which further position adjustments were impossible. I spent countless hours on this step, which makes what happened hurt even worse. After clamping the window to the roll bar, I drilled that hole. You can see the cleco center aft in the first two pictures. Getting the window into this position required lots of fiddling.
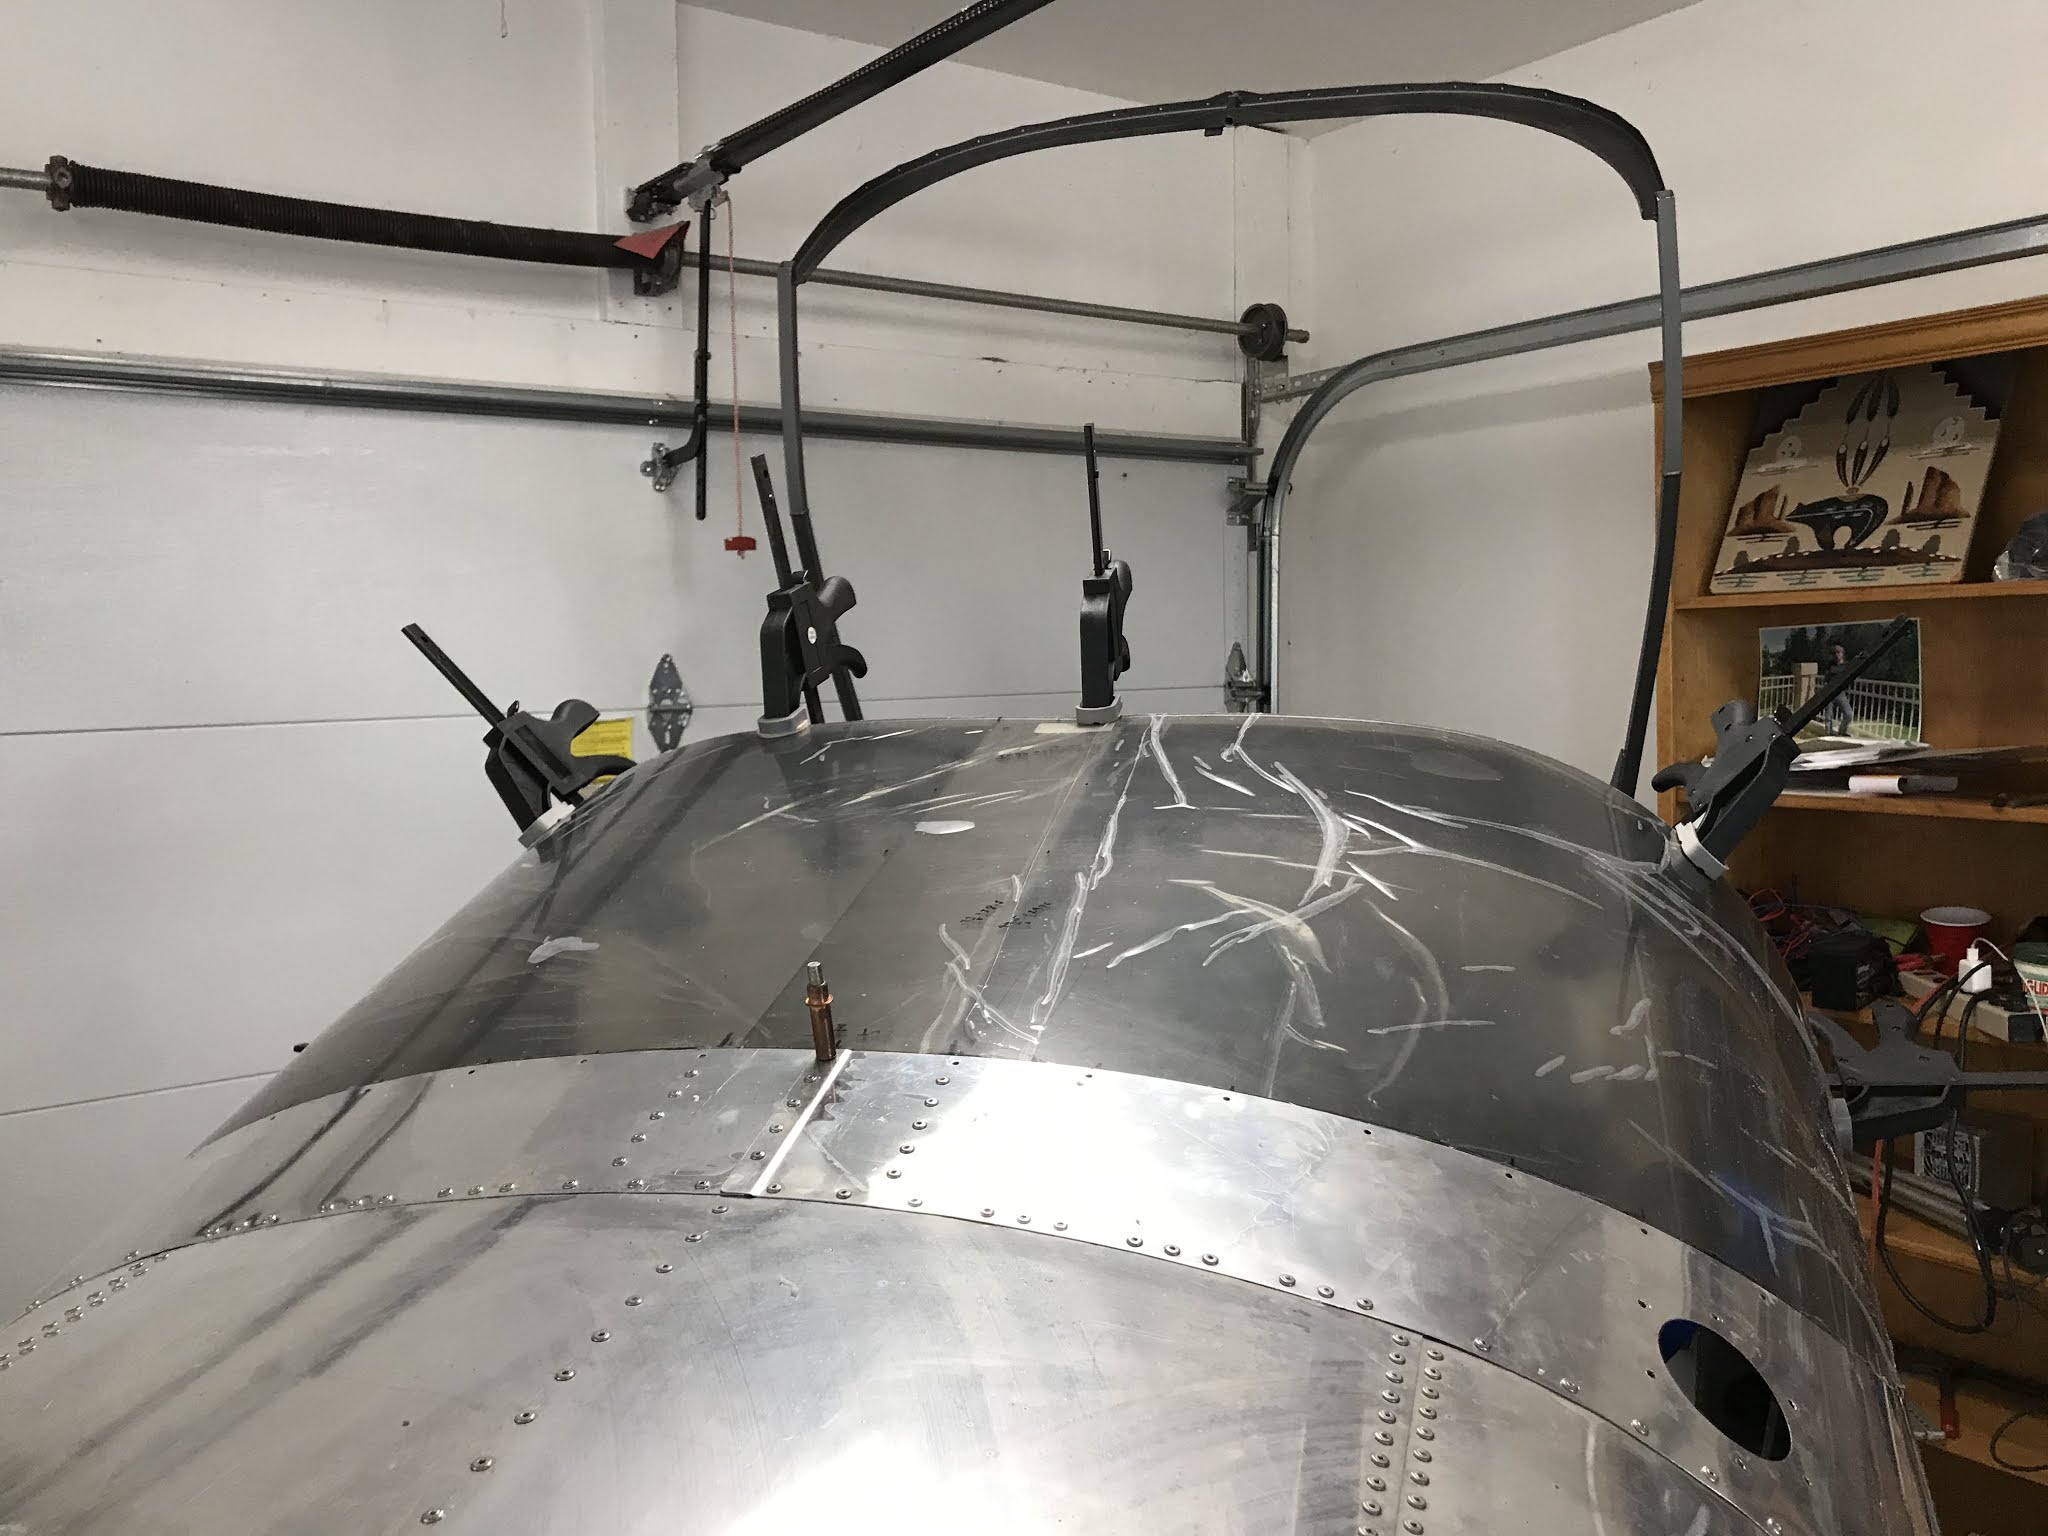
The window fits over the roll bar at the forward edge but under the tail cone skin at the aft edge, meaning there's nothing to hold the Plexiglas against the inside of the aluminum skin. To solve this problem I fabricated two flexible braces from PVC (shown in the pic). With the plexi held firm, I felt confident in the final measurements, ensuring a good fit.

To safely drill or cut plexi without fear of cracking, the temperature should be above 70 F, easy to do in NC in the spring.
In order to match drill the holes in the unsupported plexi along the aft and bottom edges, a helper was needed to hold a block of wood firmly against the inside of the plexi while the hole was drilled from the outside. The Spousal Unit (a.k.a. Dr. KTH) was pressed into service for this task. Her ghostly image can be seen through the protective plastic sheet covering covering the window.

Then came the bad part. Each #40 hole through the plexi and roll bar (thick aluminum) is to be enlarged to #36 with a reamer then tapped 6-32 and the appropriate screw inserted. All holes, including the tapped ones, are to be enlarged to #27 later. This is very unclear in the instructions and many builders didn't enlarge the tapped holes. I started on the lower right side tapping the holes and had made it though about 75% of them when the tap shattered, cracking the window ($500). I was using best practices, backing the tap out to clear chips every turn. From the start it seemed that the tap was requiring an uncomfortable amount of torque going through the aluminum and plexi at the same time. If I had it to do over, I'd go straight to the #36 bit, skipping the #40, and I wouldn't tap the plexi. All drilling of the plexi was done with bits made for this purpose and all enlarging of holes was done with a reamer or a UniBit (step drill).
After removing the window, I tapped the remaining #36 holes in the roll bar (very low torque required) and ordered a new window. I was now faced with figuring out how to drill the roll-bar holes in the new window and make make them line up with the already-drilled-and-tapped holes.

Now extremely gun shy about working with Plexiglas, I repeated the whole process (complete with Spousal Unit inside), but eyeballed where to drill the #40 holes so that they were concentric with the existing tapped holes, not wanting to damage the existing threads. My thinking was that enlarging the holes in the plexi later to #27 (as called for) or 5/32 (if needed) would handle any eccentricity.
The pic shows the #30 holes clecoed and the screws placed in the roll bar. The tape around the lower and rear borders is positioned 1/32 inch (eyeballed!) from the aluminum to limit where the ProSeal goes in the final installation. I'll wait until much later in the build to permanently attach it. The tape on the forward edge of the canopy marks the line to which the plexi is to be trimmed, lining the leading edge up with aft edge of the forward half of the roll bar. The trimming was done with a cabinet makers scraper. Plexi responds well to scraping but poorly to cutting, explaining why a reamer or UniBit is ideal. I wish UniBits came in number sizes.
