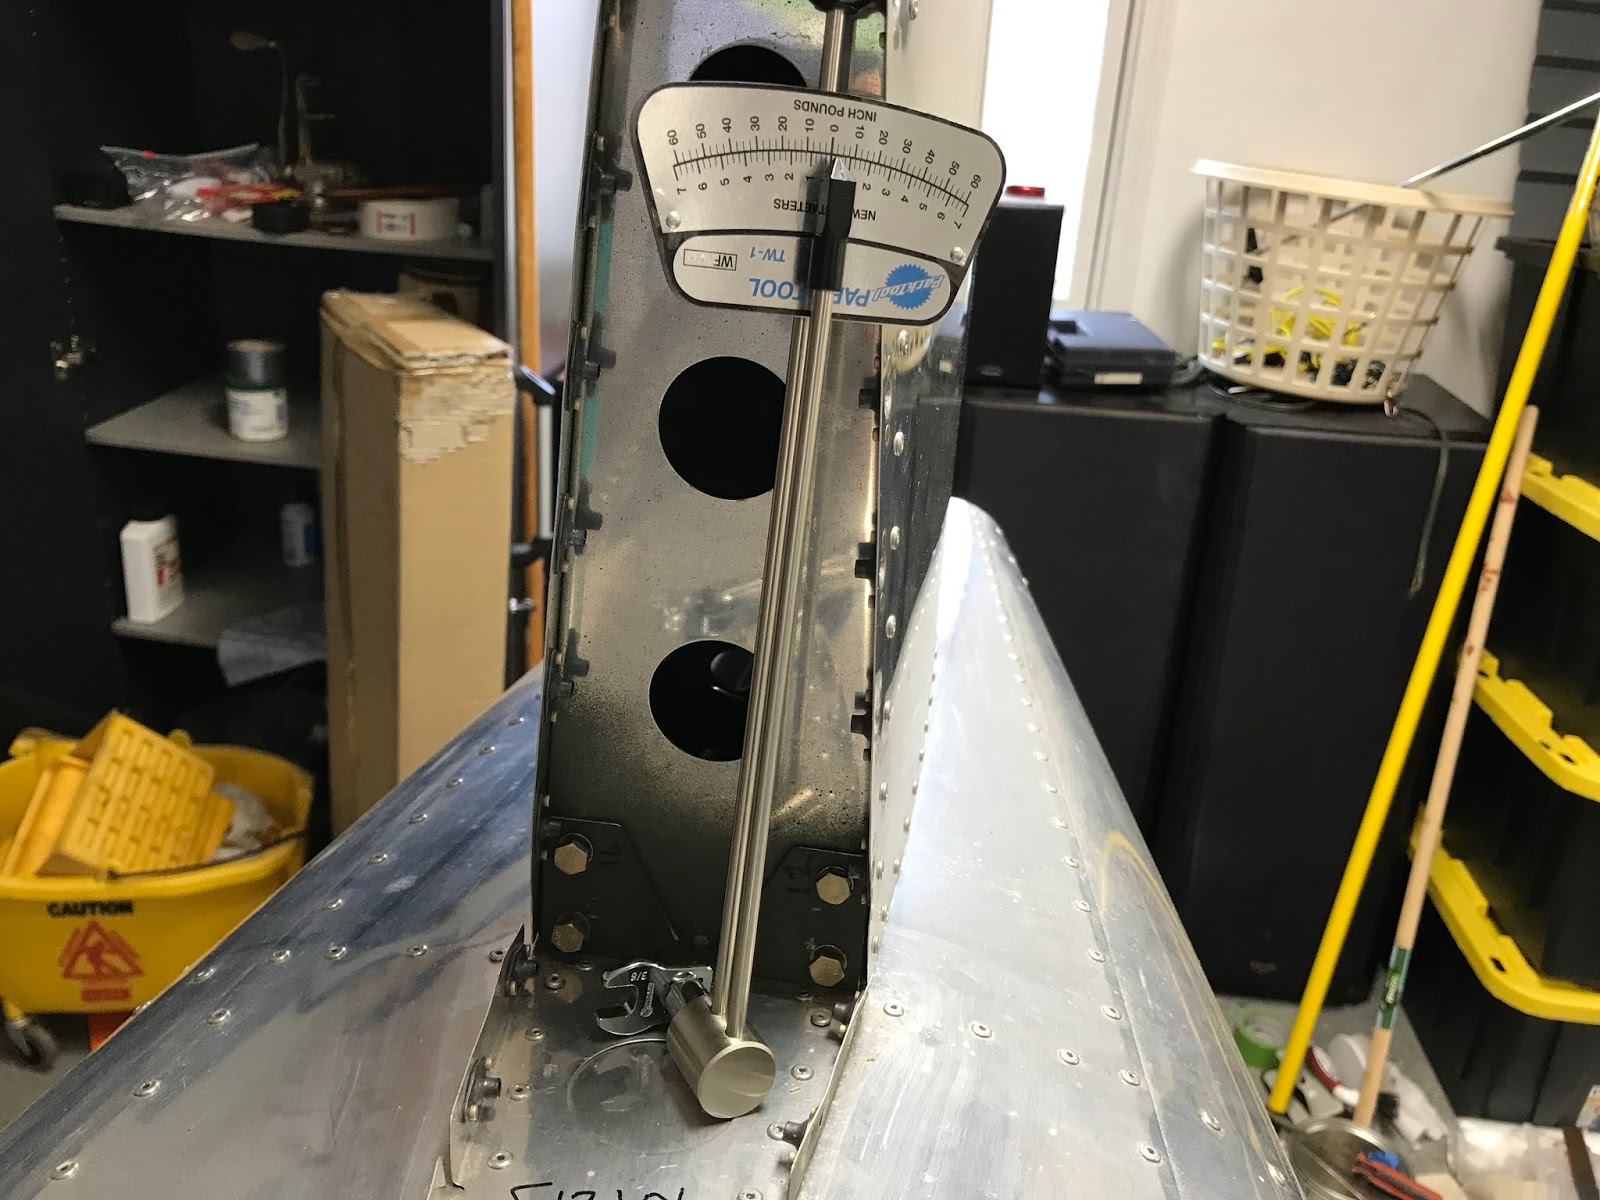
The vertical stab was easy even though it required a crow's foot on the torque wrench for a couple of bolts. Gotta be at a 90 degree angle to the wrench (as shown) to read correctly. Otherwise, some cipherin' is involved (to quote Jethro Bodine).
Bolting the stabilator on required that everything be at the correct height for the bolt holes to align, easier said than done. It can't simply be held in the right position, even if I'd had a helper, because it's too ungainly with no easy hand holds. I built a U-shaped structure from 2x4s and other wood scraps to support it and finally wrestled it into position. I guess having two helpers would make it work.

Part of the problem with the stabilator attachment is getting the washers into position while inserting the bolts. This was made much easier with a product called Washer Wrenches. If I'd had these things for the entire build I'd probably have more hair left on my head.
With the vertical stab, stabilator, anti-servo tab and trim motor installed I turned to page 12-05 only to discover that it was assumed that the stabilator was back off the airplane. In fact, as per the procedure laid out in the build manual, the stabilator has to be installed and removed several times to carry out all the trial fitting and trimming required for a good fit.


According to the build manual, drilling for the nut plates which hold the fiberglass fairing to the aluminum tail cone is to be done from the inside out using a long, flexible drill bit. I couldn't make this work, even with my Tight-Fit Drill Kit, shown below, which has bailed me out of tight situations on numerous occasions. As small as the head on this thing is, it still couldn't put the bit at right angles to the surface.


I started out using a cartridge-style mask but discovered that I was ingesting a lot of fiberglass dust, probably because my facial hair prevented a good seal. I finally resorted to my red-neck respirator (below) which involves a long hose with a mouth piece from a snorkel: breath in through the mouth and out through the nose. It's the only thing that works well.

The tabs which connect the two pieces of the fairing together (below) are first match-drilled through the fiberglass while positioned on the outside, then switched to the inside for riveting. Setting solid rivets in fiberglass made me a bit nervous but it turned out OK.
The bad part of this section is all the sanding of fiberglass and endless trial fitting. When I over-sanded a seam, I filled the gap using a product called Bondic (cheap at Lowe's) which was developed

A part unrelated to the tail cone fairing showed up today: four little plastic plugs which fit into the open ends of the boarding steps, lowering the drag a bit. I have no comment about these parts.😬
